Learn about SLAM (Simultaneous Localization and Mapping) - what it's crucial for robotics, the most common algorithms, and how to implement it in ROS2 with practical examples.
What is SLAM?
SLAM (Simultaneous Localization and Mapping) is the computational problem of constructing or updating a map of an unknown environment while simultaneously keeping track of an agent's location within it.1
Think of it as the "Chicken and Egg" problem of robotics:
-
Localization: To know where you are, you need a map.
-
Mapping: To build a map, you need to know where you are.
SLAM algorithms solve this by estimating both the map and the robot's trajectory at the same time using probability and sensor data.2
Why is SLAM Crucial for Robotics?
Without SLAM, a robot is either blind or dependent on external infrastructure (like GPS).3 SLAM unlocks true autonomy:
-
GPS Independence: GPS is inaccurate indoors and can be blocked by buildings.4 SLAM allows robots to navigate inside warehouses, caves, or on Mars.
-
Dynamic Environments: A robot with SLAM can adapt to changes, such as moved furniture or new obstacles, updating its understanding of the world in real-time.5
-
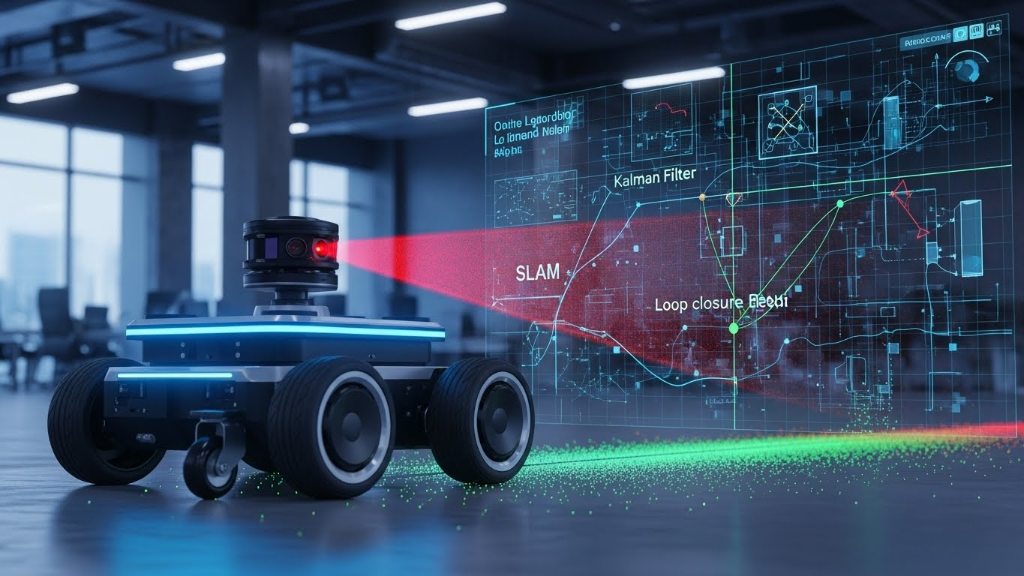
Loop Closure: This is a critical SLAM feature. When a robot returns to a previously visited location, it recognizes the spot and "snaps" its accumulated position errors back to zero, correcting the entire map.6
Most Common SLAM Algorithms
SLAM algorithms are generally categorized by the sensors they use (LiDAR vs. Cameras) and their mathematical approach (Filter-based vs. Graph-based).
1. LiDAR-Based Algorithms (2D & 3D)
-
GMapping: The classic algorithm used for years in ROS1. It uses a Particle Filter (Rao-Blackwellized) where each particle carries an individual map. It is computationally heavy for large areas and is largely being replaced in ROS2.
-
Cartographer: Developed by Google. It is a Graph-based SLAM approach that uses submaps. It is highly efficient for both 2D and 3D mapping and is widely used in commercial applications like floor cleaners.
-
SLAM Toolbox: The current "Gold Standard" for ROS2. It builds on KartoSLAM (Graph-based) but adds "Lifelong Mapping" capabilities, allowing a robot to update a map over days or weeks without the file size exploding.7
2. Visual SLAM (vSLAM)
-
ORB-SLAM3: Uses feature extraction (ORB features) from cameras (Mono, Stereo, or RGB-D).8 It is famous for its accuracy and ability to recover when tracking is lost.
-
VINS-Mono: A Visual-Inertial system that fuses camera data with an IMU (accelerometer/gyroscope) for high-speed, robust state estimation (often used in drones).9
How to Implement SLAM in ROS2 (Practical Example)
For this guide, we will use SLAM Toolbox because it is the default SLAM provider for the ROS2 Navigation Stack (Nav2).10 We will simulate a robot (TurtleBot3) so you can try this without hardware.
Prerequisites
-
ROS2 Installed (Humble or Jazzy recommended).11
-
Nav2 and SLAM Toolbox packages.
Step 1: Installation
Install the necessary packages for the simulation and SLAM.
sudo apt install ros-humble-navigation2 \
                 ros-humble-nav2-bringup \
                 ros-humble-slam-toolbox \
                 ros-humble-turtlebot3*
Step 2: Setup Environment
Tell ROS2 which robot model to use.
export TURTLEBOT3_MODEL=waffle
export GAZEBO_MODEL_PATH=$GAZEBO_MODEL_PATH:/opt/ros/humble/share/turtlebot3_gazebo/models
Step 3: Launch the Simulation
Open a new terminal and launch the robot in a simulated world.
ros2 launch turtlebot3_gazebo turtlebot3_world.launch.py
You should see a Gazebo window pop up with a robot in a world with pillars.
Step 4: Launch SLAM Toolbox
Open a second terminal. This node will take the laser scans from the robot and build the map.
ros2 launch slam_toolbox online_async_launch.py use_sim_time:=True
Note: online_async is best for real-time mapping where you don't want the robot to pause processing if the computer lags.
Step 5: Visualize in RViz2
Open a third terminal to see what the robot "sees."
ros2 launch nav2_bringup rviz_launch.py
In RViz, click the "Add" button and add the Map display (set topic to /map).12 You will see grey (unknown), white (free space), and black (obstacles).
Step 6: Move the Robot
Open a fourth terminal to drive the robot. As you drive, the map in RViz will expand.
ros2 run teleop_twist_keyboard teleop_twist_keyboard
-
Use keys
i,j,l,,to drive.13 -
Tip: Drive in a full loop back to where you started to trigger "Loop Closure," which will sharpen the map edges.14
Step 7: Save the Map
Once you are happy with your map, save it. This will create a .yaml (metadata) and .pgm (image) file you can use later for autonomous navigation.
ros2 run nav2_map_server map_saver_cli -f my_first_map
Next Step
Now that you have a map, the logical next step is Navigation. Would you like me to show you how to load this map into Nav2 and send the robot autonomous goals to travel from Point A to Point B?